


Wallpaper Removal
Wallpaper removal is an essential step in refreshing your home’s interior, allowing you to create a clean and smooth surface for new paint or wall coverings. While it may seem like a daunting task, understanding the type of wallpaper, using the right tools, and following a structured process can make the job easier and more efficient.
From vinyl and fabric wallpaper to strippable and pre-pasted designs, each type requires a different approach for effective removal. With proper preparation, patience, and safety measures, wallpaper removal can be a manageable DIY project that transforms your walls and sets the stage for a stunning new look.
| Section | Key Points |
| Definition | Wallpaper removal is stripping old wallpaper to prepare walls for painting or new coverings. |
| Types of Wallpaper | – Vinyl: Durable, harder to remove. – Paper: Easy to remove, moisture-sensitive. – Fabric: Textured, requires care. – Pre-pasted: Adhesive activated by water, moderate effort. – Strippable: Designed for easy removal in sheets. |
| Tools Needed | Scraper/putty knife, sponge, bucket, scoring tool, steam stripper, drop cloths, utility knife. |
| Materials Needed | Wallpaper removal solution, warm water, adhesive remover. |
| Safety Tips | Wear gloves/mask, ensure ventilation, use tools safely, check for lead paint, and turn off outlets. |
| Steps to Remove Wallpaper | 1. Prepare room & protect floors. 2. Test a small section. 3. Score wallpaper. 4. Apply water/solution. 5. Scrape & peel. 6. Remove glue residue. 7. Inspect & repair walls. 8. Wash walls. 9. Prep for new finish. |
| Additional Tips | Work in sections, use steamers for stubborn wallpaper, keep walls damp, and hire pros if needed. |
| Conclusion | With preparation, patience, and the right tools, wallpaper removal is a manageable DIY project. |
Revealing Fresh Walls: The Art of Wallpaper Removal
Wallpaper removal is the process of stripping old wallpaper from walls to prepare surfaces for fresh paint or new coverings. It typically involves identifying the type of wallpaper, loosening the adhesive with water, solution, or steam, and carefully scraping it off to avoid wall damage. Proper preparation, like protecting floors and removing outlet covers, helps make the job cleaner and easier. Once the wallpaper and glue are removed, walls can be repaired, sanded, and primed for a smooth finish.
Types of Wallpaper
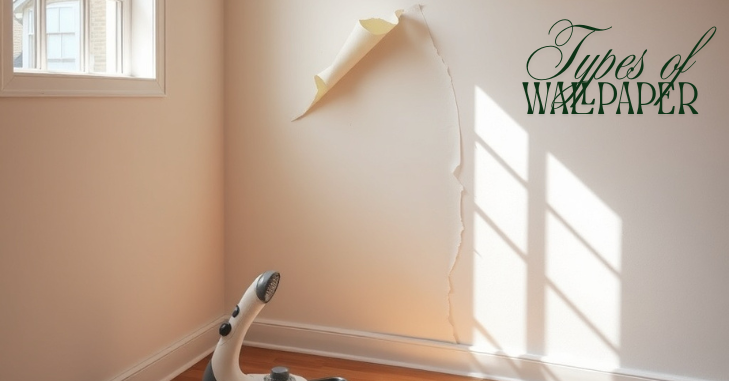
Understanding the type of wallpaper you are dealing with is crucial for an effective removal strategy. Here are the most common types:
Vinyl Wallpaper
Vinyl wallpaper is popular due to its durability and ease of cleaning. It comes in two forms: solid vinyl and vinyl-coated paper. While solid vinyl can be more challenging to remove, vinyl-coated paper may peel off more easily.
Paper Wallpaper
Traditional paper wallpaper is easy to apply and remove, making it a favorite for many homeowners. It typically adheres well to walls but can be susceptible to moisture damage.
Fabric Wallpaper
Fabric wallpaper adds texture and elegance to a room, but it can be difficult to remove. It often requires special care during removal to avoid damaging the wall underneath.
Pre-pasted Wallpaper
This type of wallpaper comes with adhesive on the back, which activates when wet. Pre-pasted wallpaper can be easier to remove than other types; however, the wetting process can be time-consuming.
Strippable Wallpaper
Strippable wallpaper is designed to be removed easily without damaging the wall. It usually comes off in large sheets, making the process quicker and cleaner.
Tools and Materials Needed
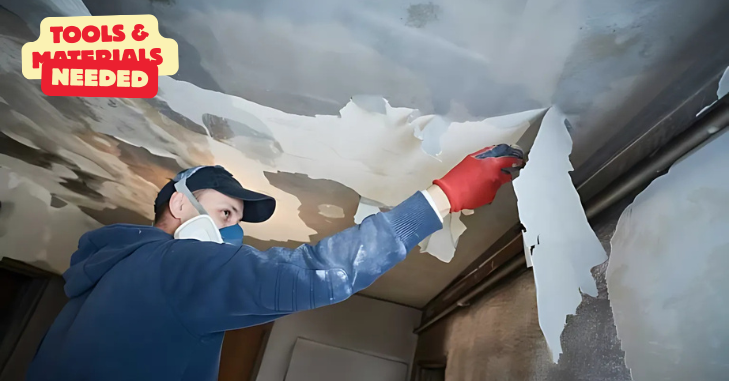
Having the right tools and materials on hand will make the wallpaper removal process smoother. Here’s a list of what you’ll need:
Essential Tools
- Wallpaper Scraper or Putty Knife: A flexible scraper is ideal for lifting the edges of the wallpaper and removing it from the wall.
- Sponge or Cloth: For applying water or removal solution to the wallpaper.
- Bucket: To contain water or a solution for removing wallpaper.
- Scoring Tool: This tool creates small holes in the wallpaper, allowing moisture to penetrate and loosen the adhesive.
- Steam Wallpaper Stripper: Sticky wallpaper, especially vinyl, can be removed with a steam stripper.
- Drop Cloths: Protect your floors and furniture from debris and water damage.
- Utility Knife: Useful for cutting the wallpaper into manageable strips.
- Measuring Tape: To measure areas and plan your removal strategy.
Materials
- Wallpaper Removal Solution: You can purchase a commercial solution or create your own with water and fabric softener, or vinegar.
- Water: Warm water is often effective for loosening wallpaper adhesive.
- Adhesive Remover: If there’s residual glue after wallpaper removal, an adhesive remover can help.
Safety Tips
When working on home renovation projects, safety should always come first. Here are some essential safety tips for wallpaper removal:
Wear Protective Gear
Protective eyewear, gloves, and a dust mask can shield you from dust and debris. If using a steam stripper, be cautious of the hot steam.
Ensure Proper Ventilation
To prevent breathing in solvent or adhesive remover fumes, work in an area with adequate ventilation. To increase airflow, open windows and turn on fans.
Use Caution with Tools
Be careful when using sharp tools like utility knives and scrapers. Always cut away from your body and store tools safely when not in use.
Check for Lead Paint
Before removing wallpaper, check for lead paint if your house was constructed before 1978. If lead is present, consult a professional for safe removal.
Be Mindful of Electrical Outlets
Turn off the power to any electrical outlets or switches in the work area to prevent accidents.
Steps for Removing Wallpaper
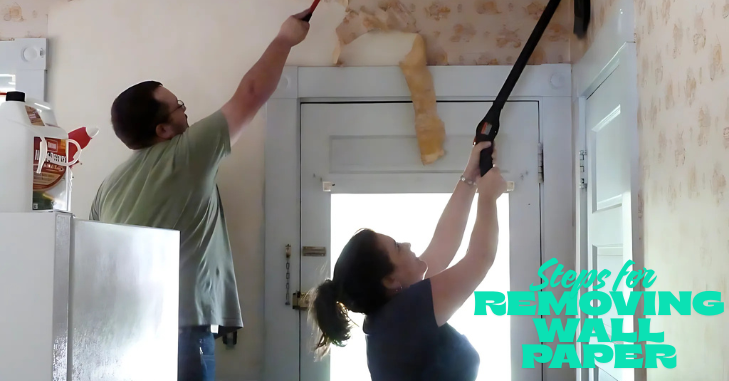
Now that you’re equipped with the right tools and knowledge, here’s a step-by-step guide to removing wallpaper:
Prepare the Room
- Remove Furniture: Either remove all of the furniture from the space or move it to the middle and cover it with drop cloths.
- Protect Floors: Lay down drop cloths or plastic sheeting to protect the floor from water and debris.
Test a Small Area
Test a tiny area of the wallpaper to see how it responds to water or the removal solution before getting started. Later on, this can save you time and effort.
Score the Wallpaper
- • Make tiny holes in the wallpaper with a scoring tool. This will allow the water or removal solution to penetrate the adhesive more effectively.
Apply Water or Removal Solution
- Soak a sponge or cloth in warm water or your chosen removal solution. Apply it generously to the wallpaper, focusing on the scored areas. Allow it to sit for about 10-15 minutes to loosen the adhesive.
Start Removing the Wallpaper
- Using a scraper or putty knife, carefully lift the wallpaper starting at a corner or seam. Peel it away slowly to avoid tearing. If it resists, apply more water or solution and wait a few more minutes.
Remove Residual Adhesive
- After removing the wallpaper, you may notice adhesive residue left on the walls. Use a sponge soaked in warm water or an adhesive remover to clean the walls thoroughly.
Inspect the Walls
- Once the walls are clean, inspect them for damage. Fill any holes or imperfections with spackle and sand them smooth.
Wash the Walls
- After removing wallpaper and adhesive, wash the walls with soapy water to remove any lingering residue. Rinse with clean water and let them dry completely.
Prepare for New Wallpaper or Paint
- Once the walls are dry, they are ready for new wallpaper or paint. Ensure the surface is smooth and clean for the best results.
Additional Tips for Successful Wallpaper Removal
Be Patient
Removing wallpaper can be time-consuming, especially if it’s been on the walls for years. Take your time to avoid damaging the walls underneath.
Work in Sections
Instead of trying to remove all the wallpaper at once, work in smaller sections. This approach allows for easier handling and better control.
Use a Steamer for Stubborn Wallpaper
If you encounter particularly stubborn wallpaper, consider using a steam wallpaper stripper. The steam can penetrate the adhesive more effectively than water alone.
Keep the Walls Damp
If you’re working on a large area, keep the walls damp with your removal solution as you work. This will prevent the adhesive from drying out and make removal easier.
Consult Professionals When Necessary
If you’re struggling with wallpaper removal or are unsure about your abilities, consider hiring a professional. They possess the skills and equipment required to finish the task quickly.
Conclusion
Removing wallpaper can seem like a challenging task, but with the right tools, techniques, and safety precautions, it can be accomplished. By understanding the types of wallpaper, preparing adequately, and following a structured removal process, you can transform your space and prepare it for a fresh look.
Whether you choose to tackle the project yourself or hire a professional, this guide provides the essential information you need for effective wallpaper removal. With patience and preparation, you’ll achieve a clean slate ready for your next design project.
Want to know about Drain Inspection for Modern Properties: Tools, Methods, and Expert Insights That Keep Your Plumbing System Healthy Check out our Home Improvement category.
FAQs
We discovered that the most economical method that worked was applying a sponge to scored wallpaper with hot water and fabric softener (similar to Downy, but we used inexpensive products to save money) at a ratio of roughly 1 cup softener per gallon of water. After ten minutes of sitting, repeat, and then simply scrape away.
Just fill a spray bottle with reasonably hot water (some people use equal parts water and fabric softener or equal parts water and vinegar), spray one section of your wall at a time, allow it to sit, and then scrape off the wallpaper with a scraper.
Older wallpaper will be more difficult to remove than more recent options, but the fundamental methods are still the same. Try removing old wallpaper with hot water, vinegar, or liquid remover, and use a scraper.
Once the paper is sufficiently loose, remove it with short, sharp strokes with the stripping knife, being cautious not to cause any damage to the wall while doing so.. Keep the knife as flat as possible and try not to let the corners dig into the surface. Remove stripped paper from the dust sheets regularly.

